
— Prepare
Get Ready for Your Visit.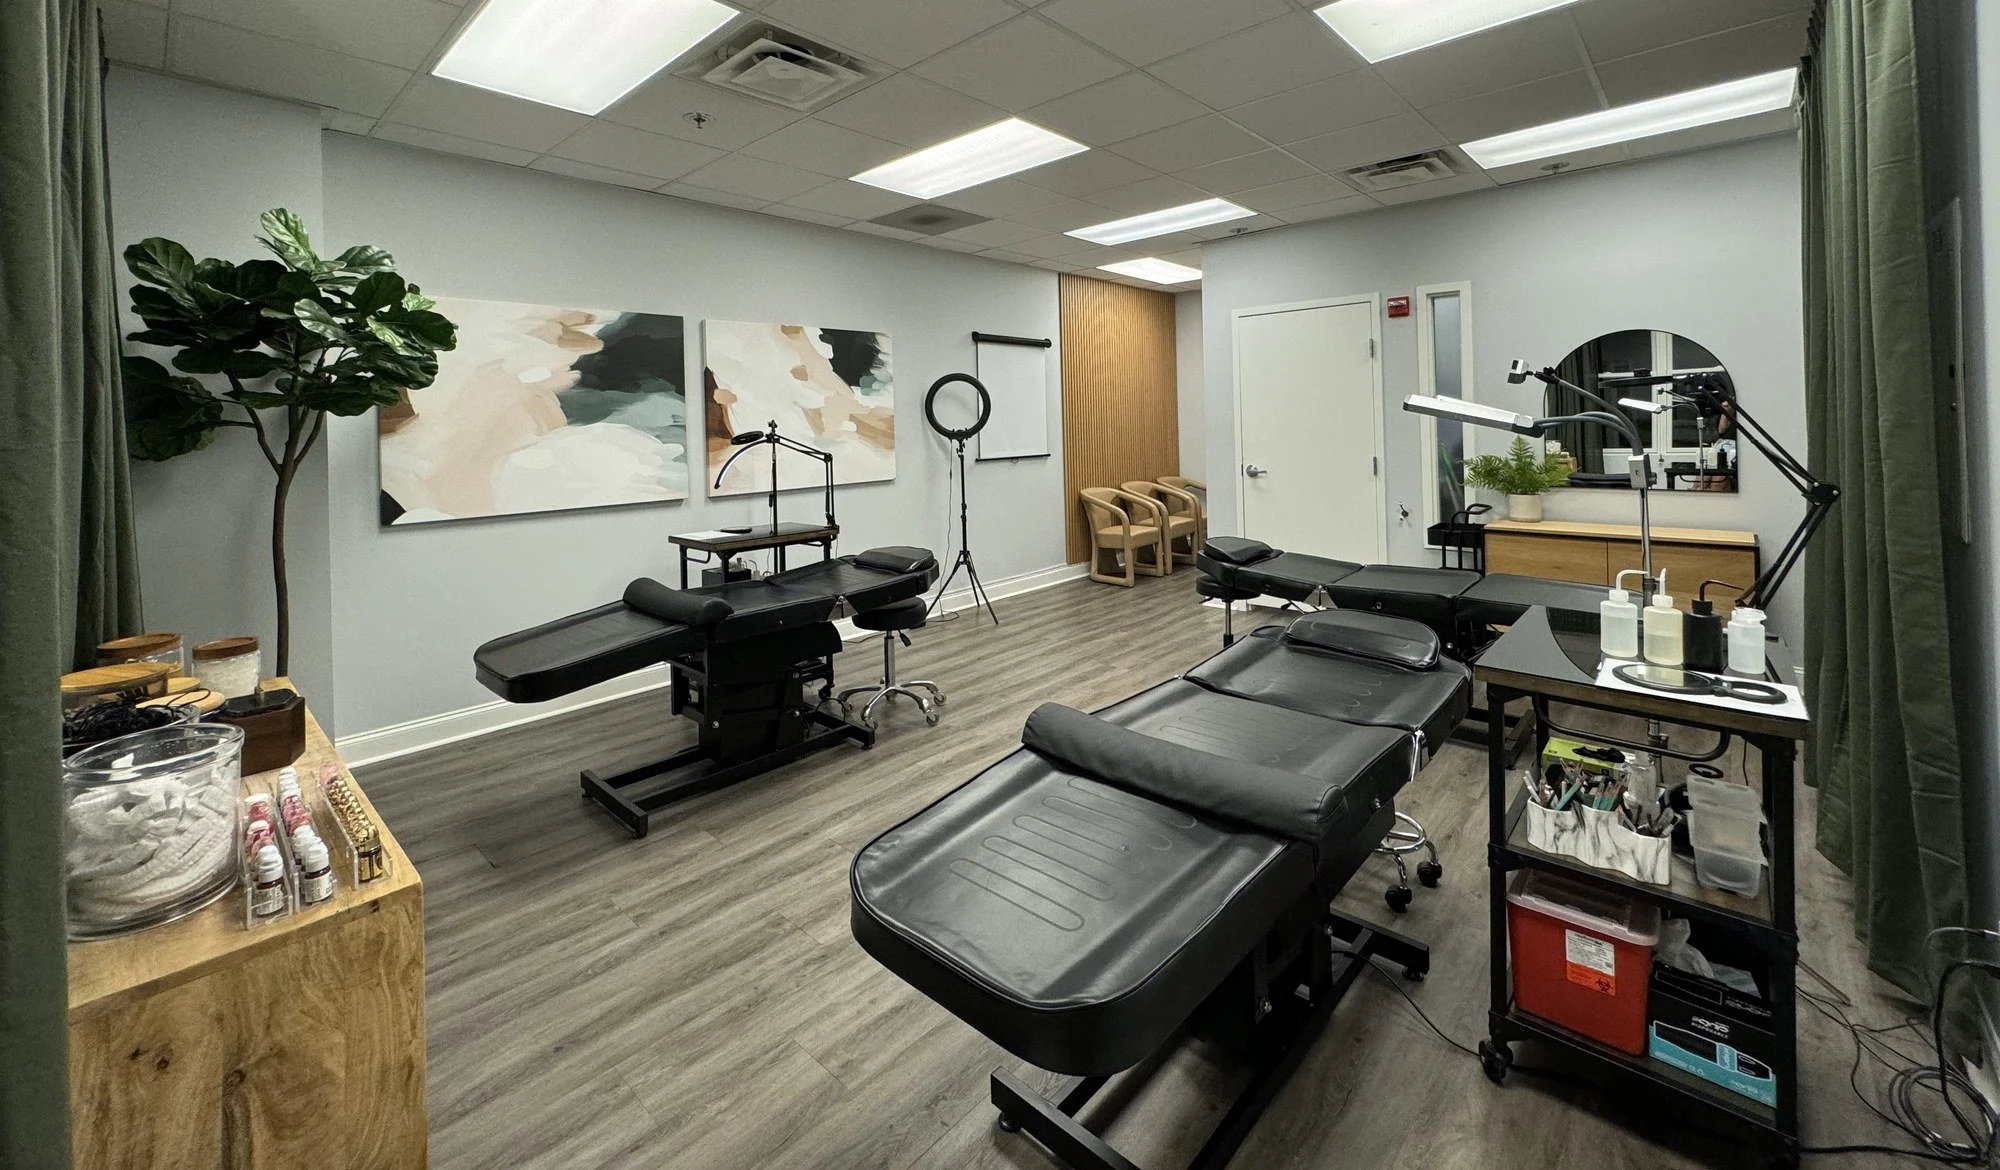
Before the chair, and after.
A few small adjustments in the days before your appointment protect your retention. A clear 10-day plan afterward protects your healed result. We recommend reading these instructions before you book to ensure they are realistic for you to follow. An aftercare kit and instructions are given to you in-person before you leave the studio.
01 — Before the Chair.Before care.
Most of the before care rules come down to one principle — thin blood interferes with how pigment settles. The week before your appointment is the time to give your skin its calmest baseline.
-
Caffeine thins the blood and elevates the skin's reactivity. Outlining is harder to read on a stimulated nervous system. Decaf is fine. Water is better.
-
Alcohol thins the blood and increases bleeding during the procedure. Bleeding interferes with pigment placement and can leave the work patchy.
-
No aspirin, ibuprofen, naproxen, or other anti-inflammatories. Avoid cold and flu medication too. If a medication is doctor-prescribed, do not stop it — let us know in advance.
-
Stop Omega-3, fish oil, and similar supplements at least 1 week before. They thin the blood the same way aspirin does — and many clients forget they're on them.
-
For brows: no waxing, threading, or tinting in the 7 days before. We map your shape on natural growth. Bring nothing pre-shaped to the chair.
-
No tanning, no sunburn, no tanning beds. Sunburned or peeling skin cannot be tattooed safely. If you've had sun exposure, we will reschedule.
-
Pause retinols, retinoids, glycolics, Vitamin C, AHAs, and any brightening serums on or near the treatment area. Active ingredients thin the skin's surface and bleed pigment.
-
If you've had Botox in the facial area, wait at least 2 weeks before your appointment. Brow shape can shift as Botox settles, and we want to map to your true resting position.
-
No chemical peels or laser treatments on the face for 6 weeks before and 6 weeks after your service. Both procedures disrupt the skin's barrier and pigment retention.
-
Pregnancy, nursing, recent illness, autoimmune conditions, anticoagulant medications, recent dermal fillers — tell us before you arrive. Some conditions delay the appointment, none of them disqualify you forever.
02 — Day of your visit.Planning ahead.
This is a walk-through of what to bring, what to expect in the chair, and what most clients tell us afterward that they wish they'd known before arriving to their appointment.
What to bring.
Wear your makeup. The brows or liner you usually draw on tell us a lot about the shape and intensity you wear day-to-day — bring them on so we can see what to match.
Do your hair. We photograph your before and after, and the photos read better when you look like yourself on a good day.
Reference photos — ideally three to five — of brows, lips, or liner you love. Save them on your phone before you come.
Water and a snack. Especially if you're sensitive to long appointments without food.
Headphones if you'd like to listen to something. The studio is quiet by default.
In the chair.
Consult and color match first. We talk through your goals, look at your reference, and choose a pigment for your skin tone.
Outlining is mapped on your bare skin — before any numbing is applied. We want to read your true symmetry, not numbed tissue.
Numbing comes after outlining, not before. Most clients describe the sensation as a cat scratch.
Most appointments run 2 to 3 hours. The chair is yours for that time — there is never a rush.
You'll see the work fresh at the end. It will look about 20% darker than your final, healed result.
Before you leave.
Aftercare review. We walk through the wet heal protocol with you in person — what to do morning, midday, and night.
Your kit is handed to you. Cleanser, balm, swabs, and printed instructions. Never emailed.
Ashleigh's number is yours for the next eight weeks. As the studio owner, she handles every heal-window question personally so your artist can stay focused on the chair.
Perfecting session is scheduled before you walk out — booked between weeks 6 and 8 from today. Included with every new service. Not included with yearly refreshers, for new or existing clients.
Drive yourself home safely. Most clients are perfectly fine; a few feel mildly tired.
03 — After the Chair.Aftercare.
How well you follow these rules reflects directly in your healed result. The first 10 days post-treatment will make the difference between work that lasts years and work that needs a third session.
-
No pools, ocean, hot tubs, or lake water. Submerging the area flushes pigment before it has set. Brief showers are fine if the area is kept out of the direct stream.
-
No saunas, steam rooms, hot baths, jacuzzis, or hot showers on the area. Heat opens the skin and accelerates pigment loss during the most fragile phase.
-
No exercise that produces sweat — running, cycling, hot yoga, weight training, tennis. Sweat carries salt that pushes pigment out through the same channels it was placed through.
-
No direct sunbathing, no tanning beds, no sunburn. UV during the heal phase fades and discolors fresh pigment. A wide-brimmed hat is your friend.
-
The area will flake and itch around days 5–10. Picking, peeling, or scratching scabs causes scarring and patchy retention. Let everything come off on its own.
-
No lotion, soap, sunscreen, foundation, mascara, lipstick, or any product on or directly around the treated area for ten days. Only the balm in your kit.
-
Face-down or side-sleeping rubs fresh pigment off onto the pillowcase. Yes, really, ten days on your back. A clean cotton pillowcase changed nightly helps if you can't.
-
Retinols, glycolics, Vitamin C, AHAs, and chemical peels should be kept off the tattooed area permanently — they fade and shift pigment over time even after full healing.
Wet-heal — the opposite of “keep it dry.”
Most studios still teach the dry-heal method — leave the area alone, let it scab, hope for the best. This studio uses a wet-heal protocol. You'll wash and apply a thin layer of balm at scheduled intervals, exactly as demonstrated in the studio before you leave.
The wet-heal method shortens healing, reduces scabbing, and dramatically improves retention. It is the single biggest reason clients here rarely need a third session. The catch is that it must be followed precisely — too little balm cracks the surface, too much suffocates it.
Your kit contains everything you need. The full timing schedule is printed on the inside of the kit and reviewed in-person. Do not improvise. If anything in the rhythm feels off, text Ashleigh at (330) 805-0084 — that is what she is here for.
04 — Notes by service.Know the specifics.
The shared before and aftercare guides above cover most of what you need to know. There are a few specifics to note for each service, which are outlined below — please read the ones that apply to you.
Brows.
Don't shape or wax for at least 7 days before. We map on natural growth.
Skip Botox for 2 weeks before — brow position shifts as it settles and we want your true resting line.
Bring your usual brow shape in pencil or powder if you have one. We'll match the visual language you already wear.
If you have oily skin, retention is shorter and a third session is sometimes recommended. Lina specializes in oily skin types.
Healed result at weeks 6–8 — the perfecting session locks the work in. Both visits are included.
Lip Blush.
Cold sores: get an antiviral. If you have a history of cold sores, get a Valtrex (valacyclovir) prescription from your doctor. Start it 5 days before the appointment and continue for 5 days after. Lip tattooing can trigger an outbreak in people who are prone. Antivirals prevent this.
Exfoliate gently the day before — a damp washcloth is enough. No scrubs in the 7 days before.
Hydrate aggressively. Hydrated lips take pigment more evenly. Start a balm routine a week before.
No filler in the two weeks before Lip Blush — lip swelling skews the shape we'd map.
Healing looks dramatic. Day 3 color is bold. Week 2 color is faint. Both are normal phases. The final color resurfaces by week 6.
Eyeliner.
No lash extensions for the appointment. They have to come off — we cannot place liner cleanly with extensions in the way. Reapply 2 weeks after.
No mascara day-of. Bring no eye products at all.
Wear glasses, not contacts, to your appointment if you can. Eye-area swelling makes contact lens removal awkward afterward.
Mild swelling for 24–48 hours is normal. A cold compress helps. Sleep slightly elevated the first night.
Don't rub your eyes for 10 days, even gently. The lash line is the most fragile placement we do.
05 — Healing Window.Text Ashleigh.
Heal-window questions go to Ashleigh, the studio founder & owner. She keeps her line open precisely so your artist can stay focused on the chair while you always have a real person to text. This is the single most important number to save in your phone before your appointment.
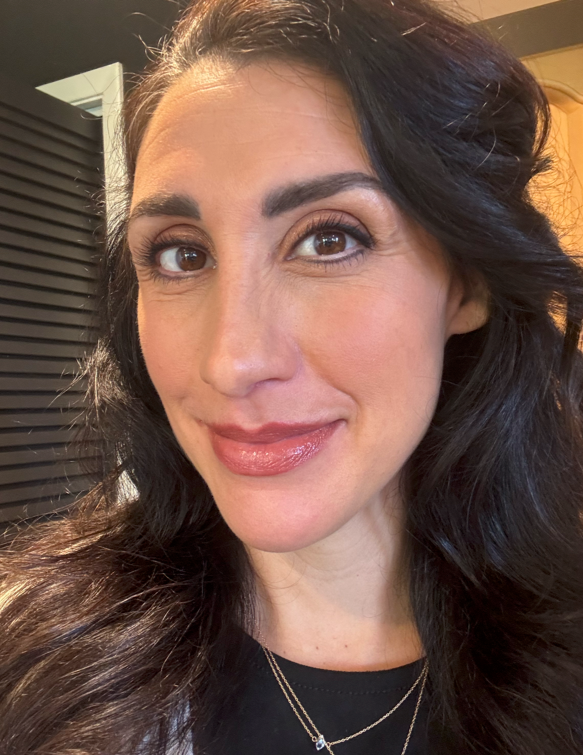
"Most heal-window questions are the same three questions, asked during the same three days. None of them are silly. None of them inconvenience me."
— Ashleigh, studio founder & OwnerA note from the StudioI am here for the eight weeks after.
The studio cannot operate efficiently if our artists are fielding panic-texts from clients. I personally handle every heal-window text, every "is this normal?" question, and every post-service photo — any time of day.
Most questions have the same answer. “Yes, that is normal. Keep using exactly what's in the kit.” A few questions are truly worth the check-in. Either way, you do not have to figure it out alone.
Save my number (below) before your appointment. Text me questions, photos, and all of the panicked rambling. I'd rather hear from you 10 times than for you to pick a single scab during your healing window.
(330) 805-0084
06 — The Studio.Where it happens.
We are located in Mount Pleasant, just over the Ravenel Bridge. Two artist chairs, ring-lit work surfaces, and a quiet room designed for the kind of work that requires a steady hand.
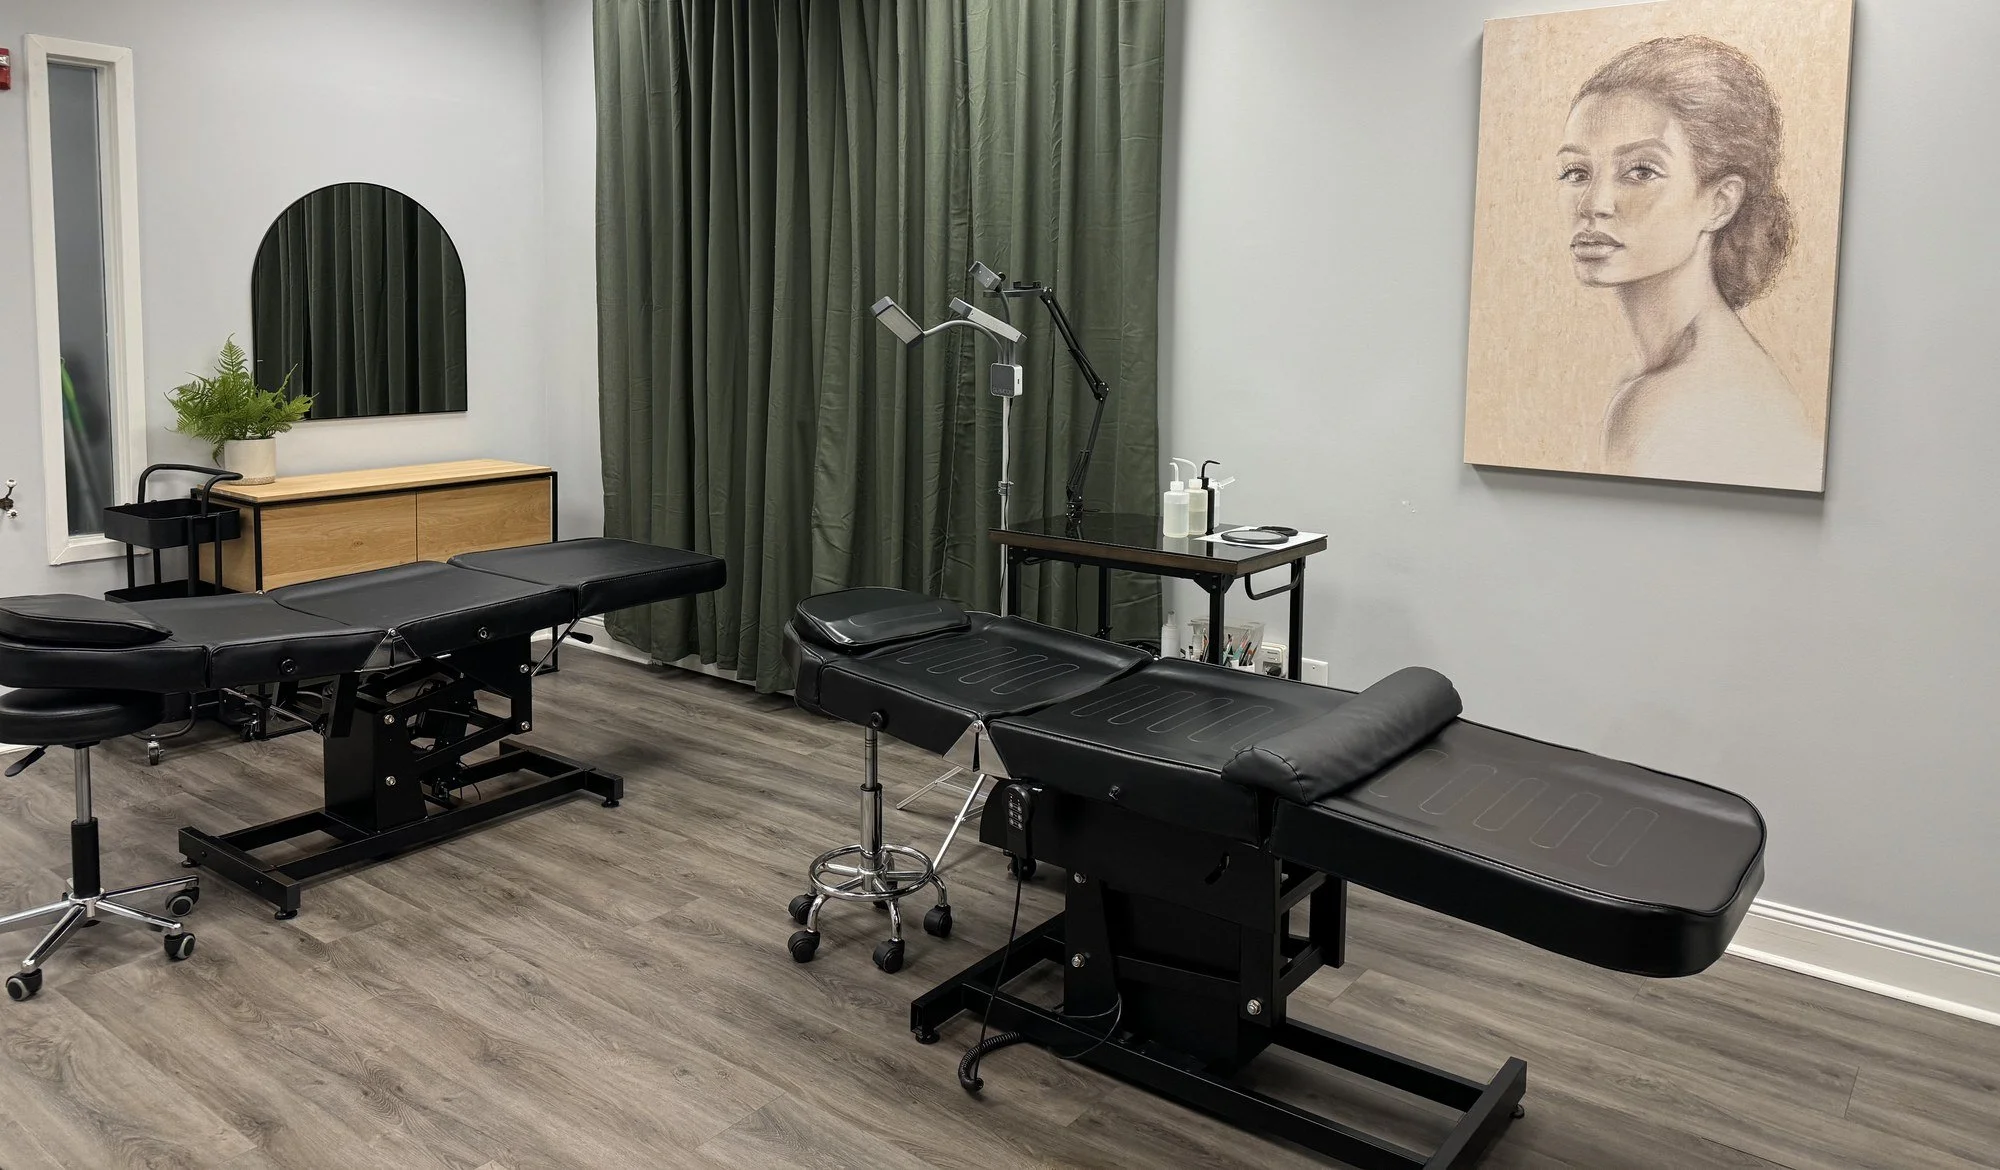
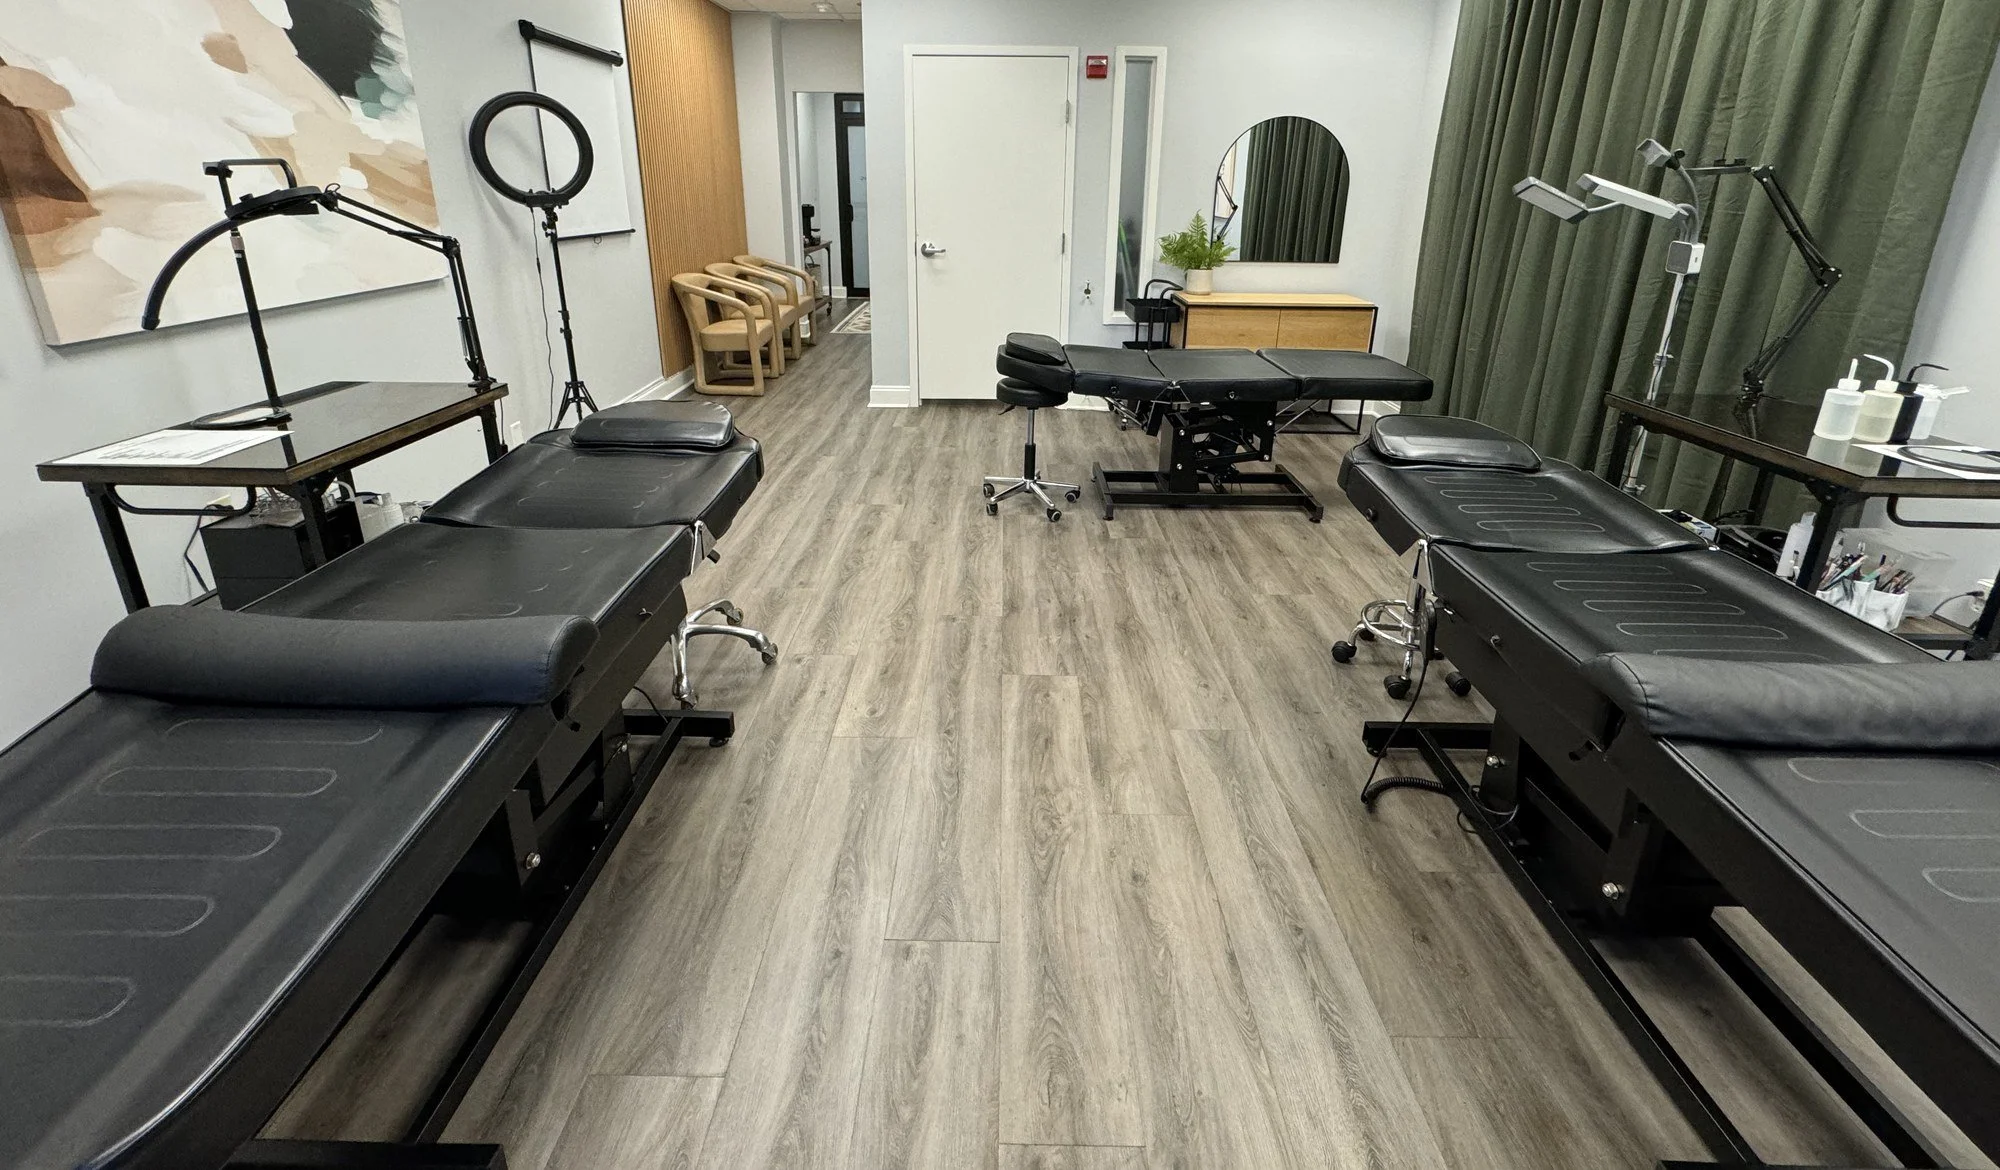
Our studio is sanitary-protocol certified and hospital-grade in its handling of single-use needles and pigment cups. Every tool that touches your skin is opened in front of you and disposed of after. The studio is calm by default — no music unless you ask, no retail counter, and no walk-ins.
You'll be in the chair for 2-3 hours. Plan for your appointment to be like a slow morning, not a quick errand. The chair is yours for the entirety of your service, and the work is finished when it looks correct — never according to the clock.
Ready to book?